How to Make an Inexpensive DIY Frame for Canvas Wall Art (Beginner Friendly Guide)
You know that moment when you finish a beautiful piece of wall art, step back, and feel proud of what you created… but something still feels like it’s missing?
That missing piece is often the frame.
A frame doesn’t just hold your artwork — it elevates it, defines it, and helps it stand out from the wall. Without a frame, your canvas can sometimes blend into the background. With a frame, your artwork becomes a statement piece.
The best part? You do not need to spend a lot of money to achieve that high-end, gallery-style look.
In this tutorial, I’m going to walk you through exactly how to create an inexpensive DIY wood frame for your canvas wall art, using simple materials, beginner-friendly tools, and easy-to-follow steps.
This is the exact process I used to frame one of my own art pieces — and the transformation was incredible. Let’s get into it.
Why DIY Your Own Canvas Frame?
Before we start building, let’s talk about why this is such a great project:
1. It saves money
Pre-made frames for large canvas art can be expensive — sometimes $50, $80, even $150+ depending on the size.
When you build your own, you can often create a frame for under $20–$30 depending on wood prices.
2. You control the look
You can customize:
the color
the finish
the depth
the style
Whether you want a modern black frame, natural wood tone, or soft chalk-painted look — it’s all up to you.
3. It’s beginner-friendly
This project looks advanced, but it’s actually very simple. If you can measure, glue, and sand — you can do this.
4. It elevates your art instantly
Framing your canvas turns it into something that looks professionally made and ready for display in a styled space.
Tools & Materials You’ll Need
Here’s everything you need to get started:
Materials
Pine wood boards (for the frame pieces)
Chalk paint (or your paint of choice)
Your canvas artwork
Tools
Pencil
Clamps (optional but helpful)
Optional
Corner clamps for cleaner joints
Wood stain instead of paint
Protective topcoat or sealant
Step 1: Measure Your Canvas
The first step is measuring your canvas accurately.
Measure both:
the height
and the width
Write these measurements down clearly.
Important Tip
Measure twice (or even three times) before cutting your wood. Accurate measurements are the key to a clean, professional frame. You want your frame to sit snugly around your canvas — not too tight, not too loose.
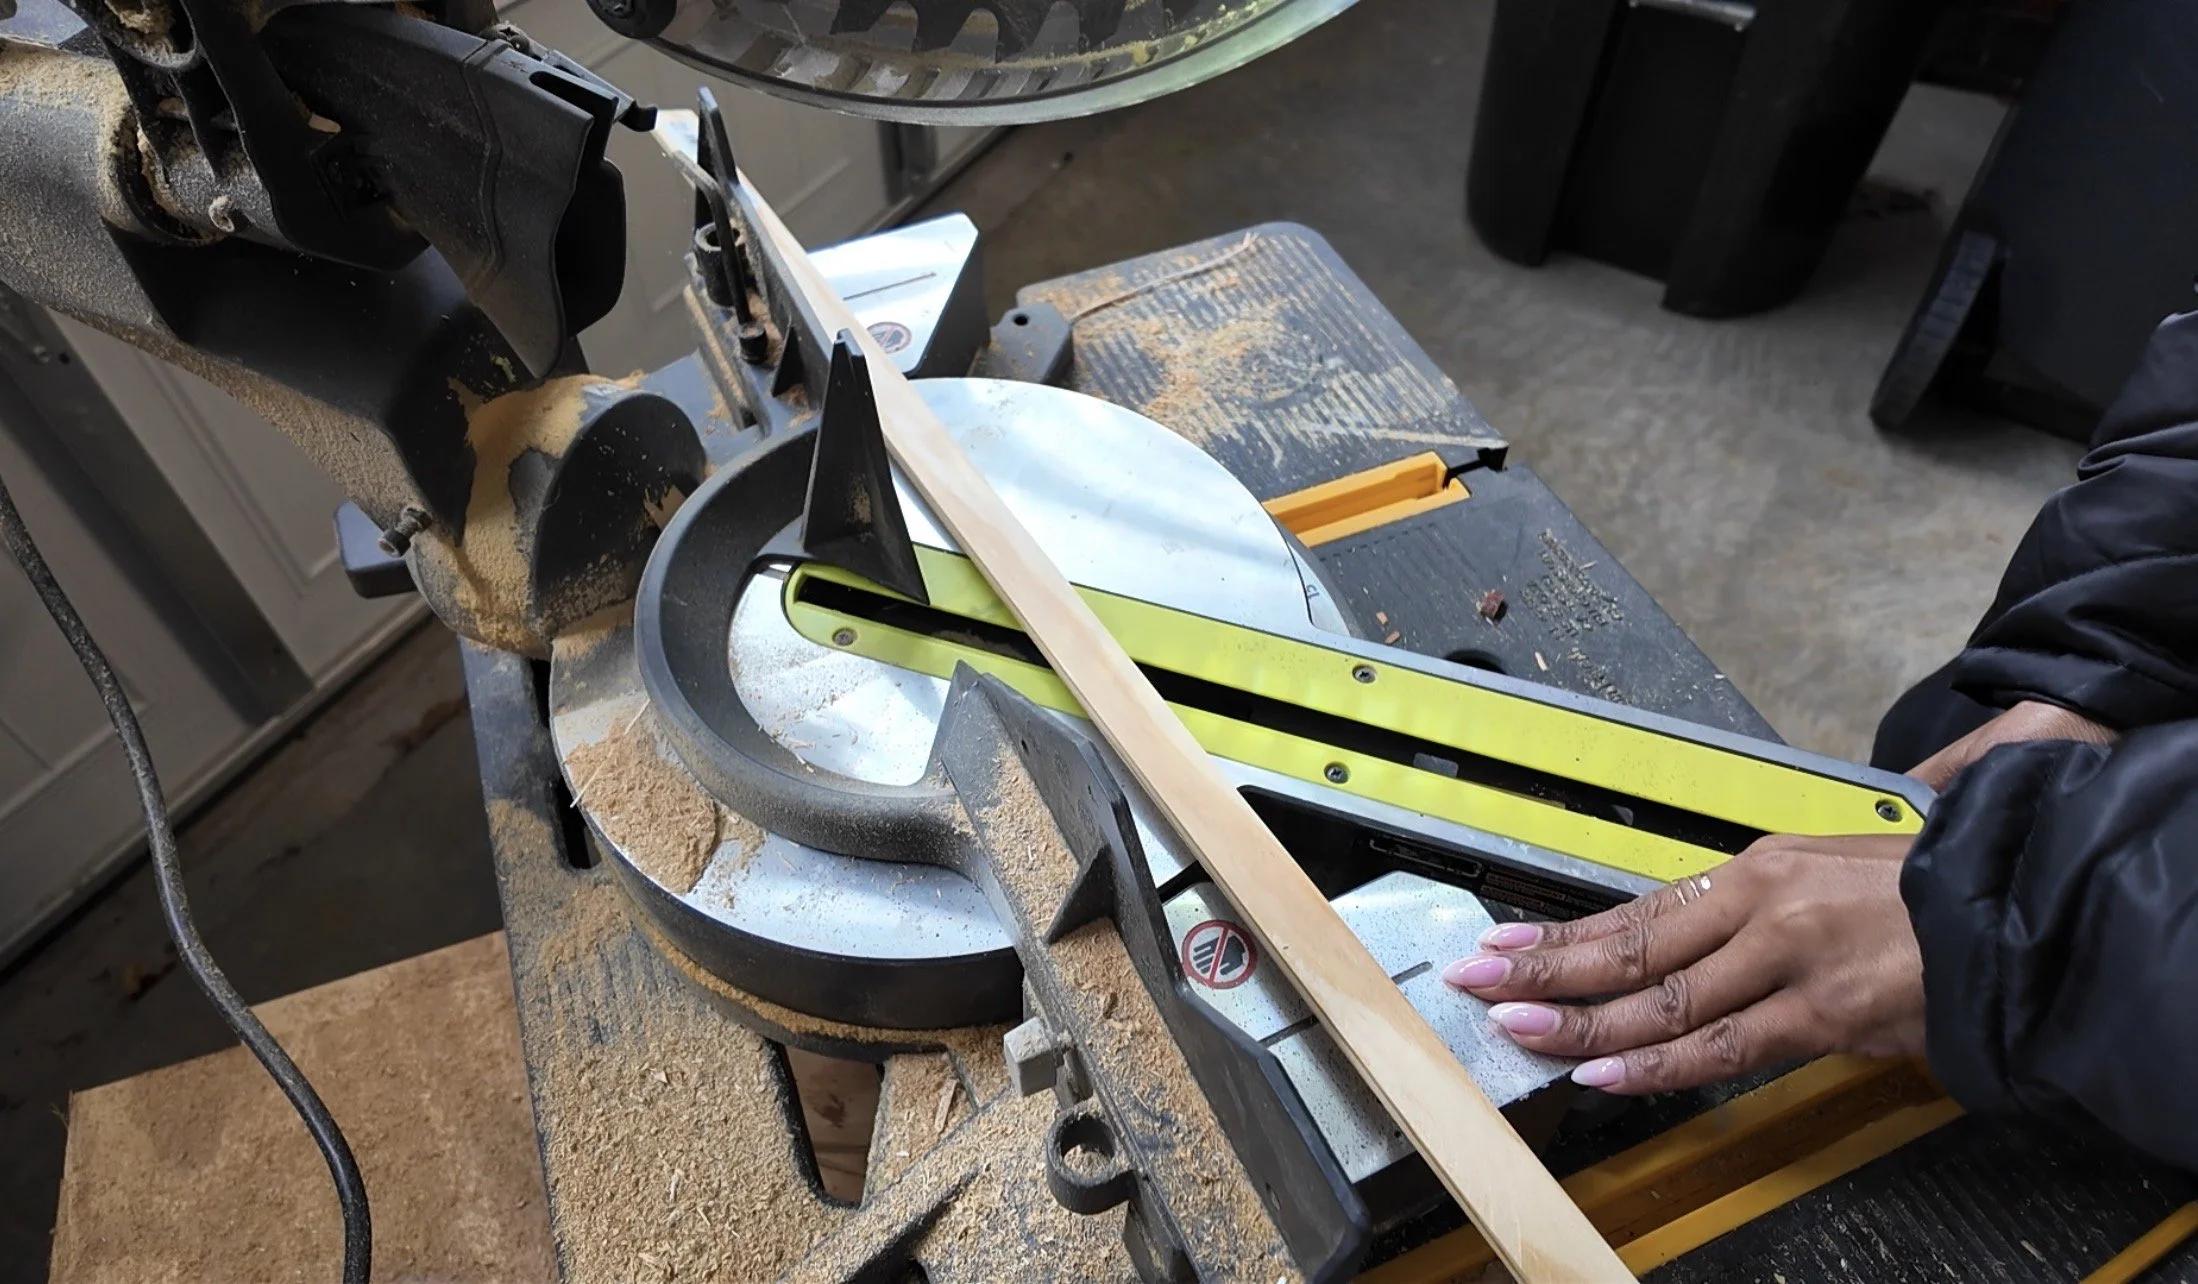
Step 2: Cut Your Wood Pieces at 45° Angles
Now it’s time to cut your frame pieces. You’ll need four pieces of pine wood (or similar):
2 pieces for the width
2 pieces for the height
Each end of each board should be cut at a 45-degree angle so they connect to form clean corners.
Using a Miter Saw
A miter saw makes this step quick and precise. Here’s the one I like to use. Simply:
set the blade to 45°
align your wood
make your cuts carefully
If You Don’t Have a Miter Saw
No problem. You can use:
a miter box
and a hand saw
These are inexpensive and still get the job done beautifully. Here’s one that I like to use.
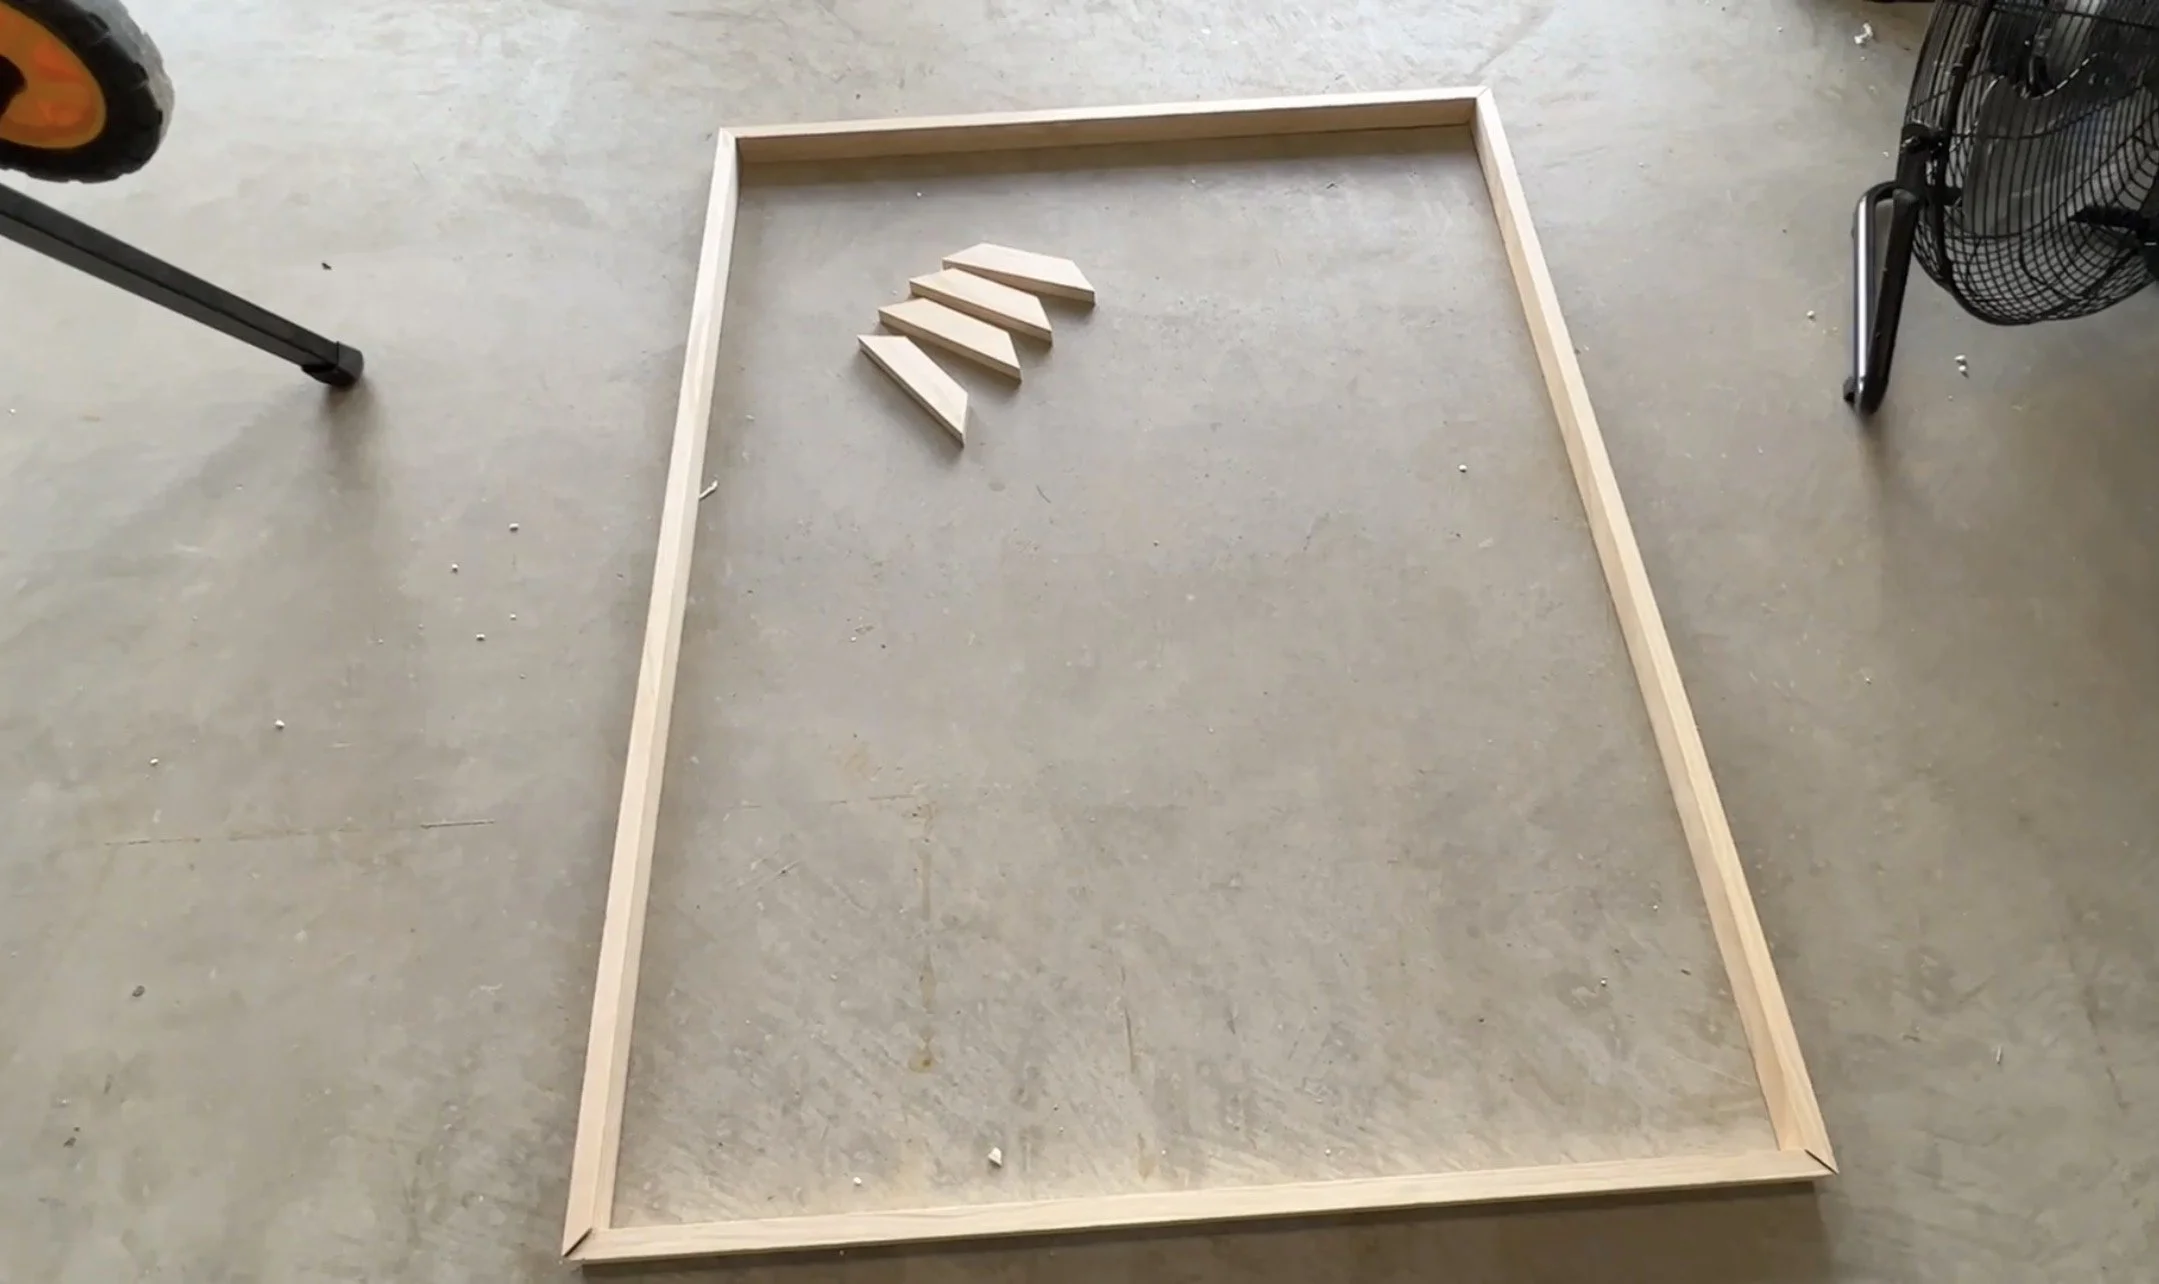
Step 3: Cut Back Support Pieces
Next, cut four smaller pieces of wood that will act as back supports.
These should be about: ~ 4 - 6 inches long each (please use measurements that work for your specific project)
These support pieces will sit behind the frame and give you a place to secure your canvas later.
Step 4: Assemble the Frame with Glue and Nails
Now it’s time to bring your frame together.
1. Apply wood glue - Add a small amount of wood glue to each angled corner.
2. Connect the pieces - Line up your corners carefully so they form a rectangle.
3. Secure with nails - Use finishing nails or a nail gun to hold the corners together while the glue dries.
Tip:
Make sure your frame is square before the glue fully sets. Adjust gently if needed. Once assembled, allow the glue to dry completely.
Step 5: Fill Holes and Gaps with Wood Filler
After your frame is assembled, you may notice:
small nail holes
tiny gaps at the corners
seams where the wood meets
This is completely normal.
Use wood filler to:
fill nail holes
smooth over seams
clean up any imperfections
Apply it with a putty knife or your finger and allow it to dry.
Step 6: Attach the Back Support Pieces
Now it’s time to attach the support pieces to the back of your frame.
How to do it:
Place the support pieces on the inside back edges of the frame
Apply wood glue
Nail them into place
These supports will give your canvas something to rest against and be secured to.
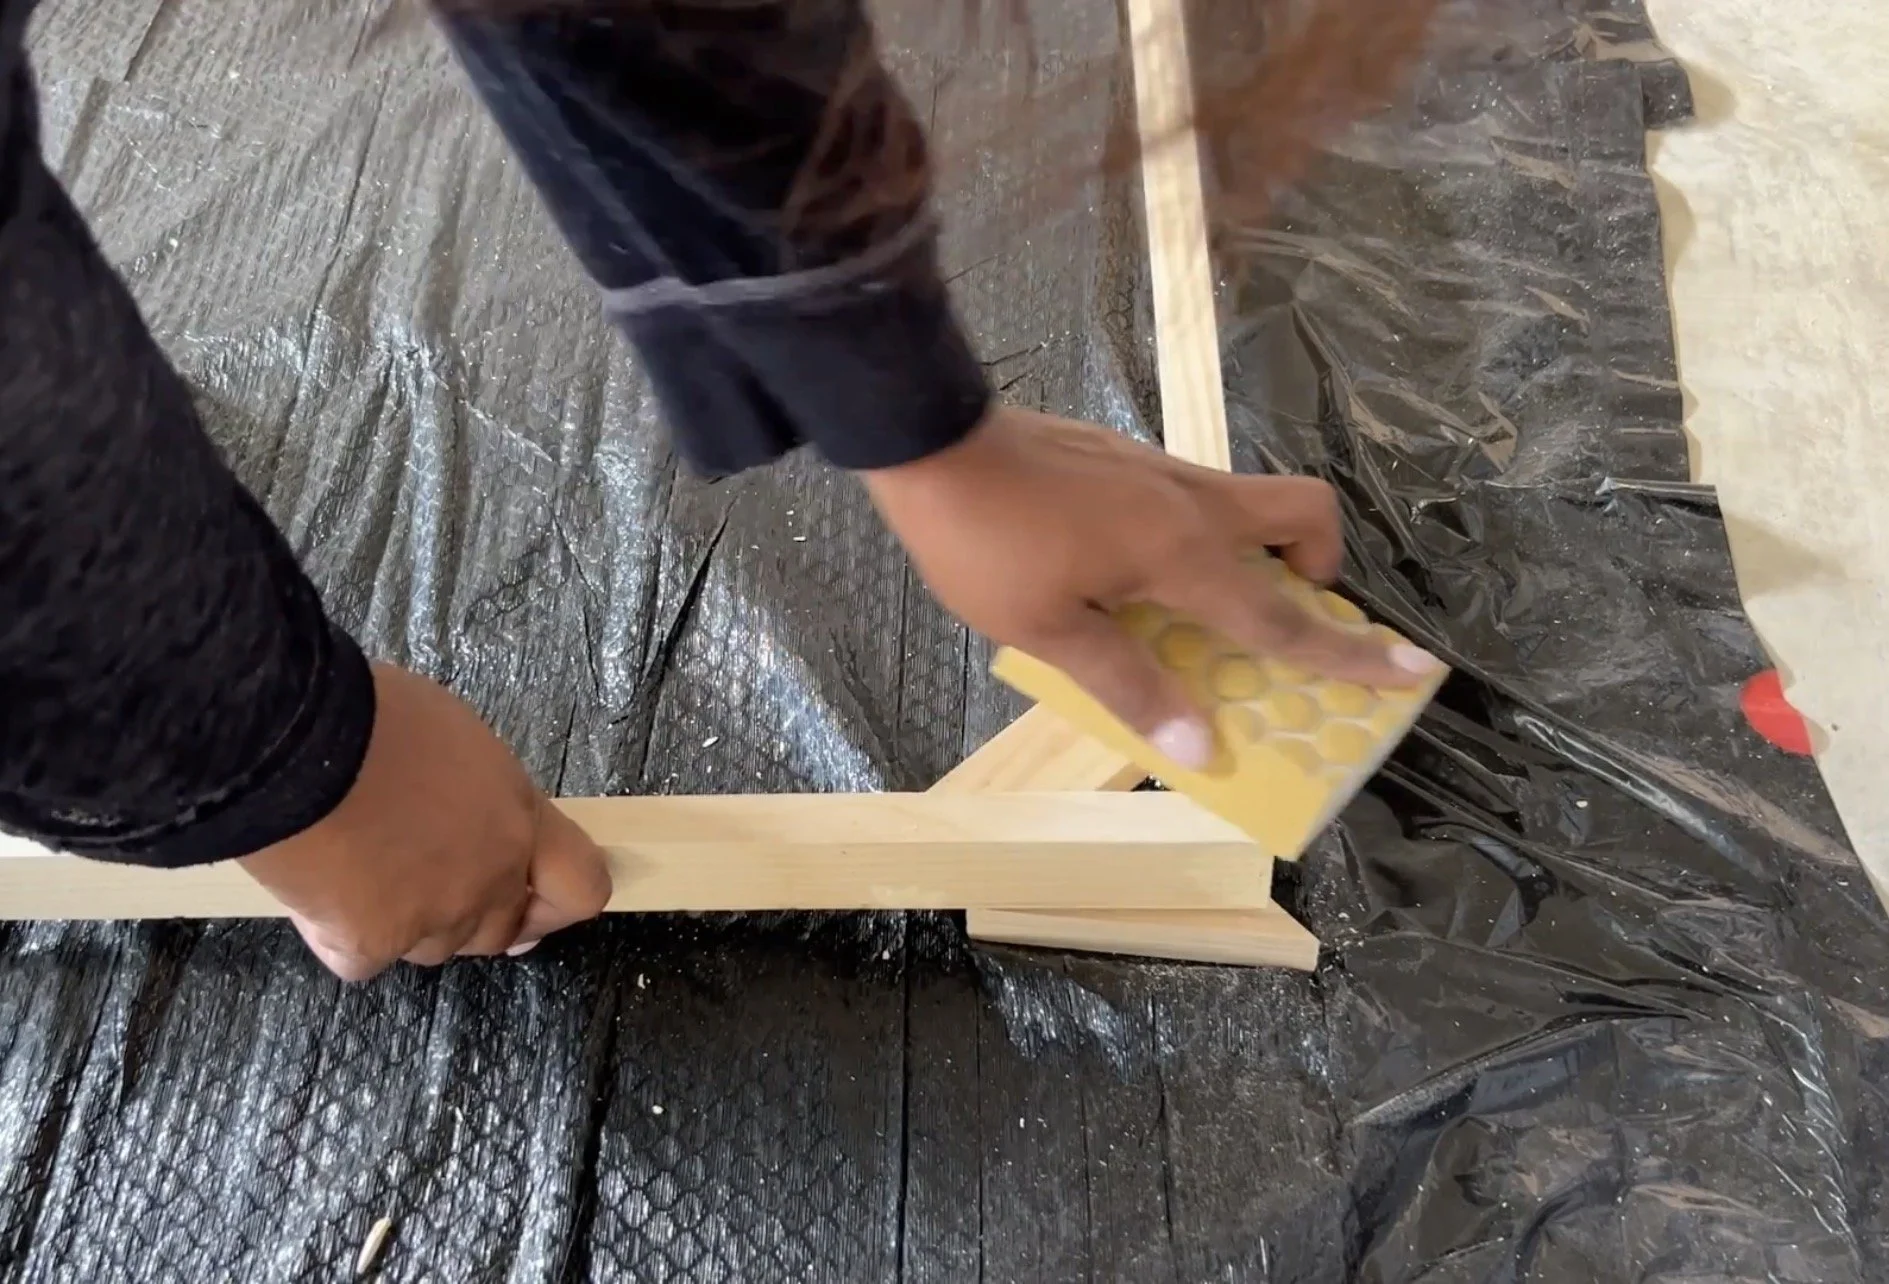
Step 7: Sand Everything Smooth
Once the wood filler is dry, sand the entire frame. Focus on:
filled nail holes
corner joints
edges
surfaces that feel rough
You can use:
✔ a sanding block
✔ or regular sandpaper (more budget-friendly)
The goal is to create a smooth, clean surface ready for paint.
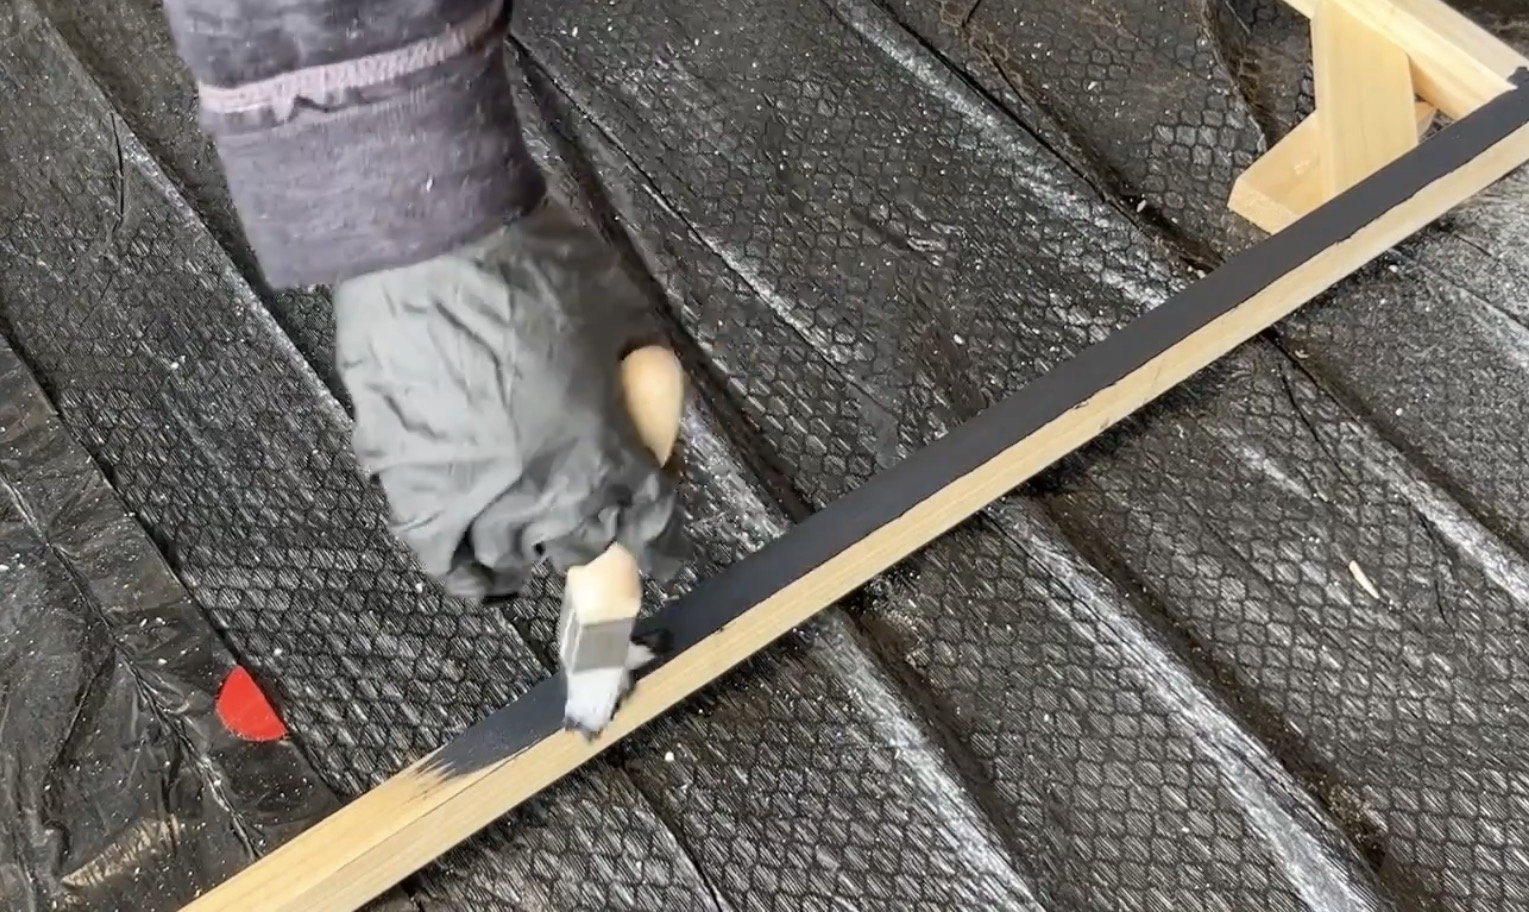
Step 8: Paint or Stain Your Frame
Now it’s time to bring your frame to life. For this project, I used chalk paint, which is great because:
no priming is required
minimal sanding needed
smooth matte finish
You can choose any finish you love:
Popular Options
Matte black (modern)
White (clean and airy)
Gold (glam)
Natural stain (warm and organic)
Charcoal or espresso (moody and rich)
Apply your paint evenly and allow it to dry for a couple of hours.
Step 9: Insert and Secure Your Canvas
Once your frame is dry:
Place your canvas into the frame
Make sure it sits evenly against the support pieces
Nail the canvas to the support boards from the back
Now your artwork is securely held inside your new frame.
Step 10: Step Back and Admire the Transformation
This is the moment. You’ll immediately notice how your artwork:
stands out more
looks more finished
feels more intentional
The frame creates contrast between your art and your wall, making the entire piece feel more elevated. It truly transforms your art into something that looks professionally styled.
Design Ideas for Your Frame
Here are a few styling ideas you can try:
Modern Minimal: Black frame + neutral abstract art
Soft Luxe: White or cream frame + textured artwork
Bold Statement: Gold frame + dark moody art
Organic Natural: Stained wood frame + earthy tones
Coastal: Whitewashed frame + soft blues and sandy tones
Where to Use Your Framed Canvas
Your framed art can go in:
Bedrooms
Living rooms
Entryways
Hallways
Dining rooms
Offices
Bathrooms
Above beds or consoles
Gallery walls
Anywhere you want a clean, polished look.
Beginner Tips for Success
If this is your first time building a frame, here are a few helpful tips:
✓ Take your time measuring - This prevents gaps and uneven corners.
✓ Don’t rush the glue drying time - A solid frame starts with strong joints.
✓ Sand more than you think you need - Smoothness makes your paint finish look better.
✓ Don’t stress about perfection - Small imperfections are easy to hide with paint and filler.
✓ Start with a smaller frame first - If you're nervous, try a small canvas as your first project.
How This Project Supports Your Creative Journey
This DIY is more than just a frame. It’s a reminder that:
✨ You can create beautiful things with your own hands
✨ You don’t have to spend a lot to elevate your home
✨ Your creativity can shape your environment
Every piece you create and frame becomes part of your personal story — your creative fingerprint inside your home.
Final Thoughts: A Small Project That Makes a Big Impact
Framing your canvas art may seem like a small detail, but it makes a huge visual difference. This is one of those DIY projects that:
is affordable
looks expensive
builds your confidence
and enhances your home instantly
And the best part is… once you do it once, you’ll want to frame everything.
Watch the Full Video Tutorial
For a visual step-by-step walkthrough of this project, be sure to watch the full YouTube video tutorial where I show each step in action.
Creative Reflection
Take a moment to ask yourself:
What artwork do I already have that deserves to be framed and elevated?
You might already have the perfect piece waiting to shine.
Shop My Finds