Creative Christmas Decor Ideas You Can Make at Home | 4 Easy DIY Holiday Projects
There’s something truly special about decorating for Christmas with pieces you’ve created yourself. Each handmade detail carries a story—your personality, creativity, and heart woven into every garland twist and glittering ornament. This season, skip the overpriced store décor and bring your imagination to life with these four beautiful DIY projects you can make right at home.
In this post, I’ll walk you through step-by-step how to make:
A Wall Christmas Tree – the perfect space-saving design for small homes or entryways
Mini Crystal Christmas Trees – elegant, modern, and perfect for tabletops
A Classic Christmas Wreath – customizable to your color palette and theme
Handmade Ornaments – personal touches that make your tree uniquely yours
Each project is simple, budget-friendly, and full of creative freedom. Whether you’re crafting for yourself, your family, or as gifts, these projects will make your home feel festive and truly one-of-a-kind.
1. Wall Christmas Tree (Perfect for Small Spaces)

If you love the spirit of Christmas but don’t have the floor space for a full tree, this Wall Christmas Tree is a showstopper! It’s creative, lightweight, and ideal for apartments, small entryways, or minimalist interiors.
Materials You’ll Need
Two trifold foam boards
Duct tape (to join the boards)
Utility knife
Ruler or measuring tape
Floral wire
Green garland (8–10 nine-foot strands, depending on size)
Battery-operated string lights (warm white or cool white)
Artificial snow spray (optional)
Ornaments or crystals for embellishment
OOK hook or command strips for hanging
Steps
Create the Tree Base
Tape two foam boards together (both front and back).
Mark the top center and 1 inch to both sides—this defines the tree’s peak width.
Draw diagonal lines from those top marks down to each bottom corner.
Cut out the triangular tree shape using your utility knife.
Add the Frame Support
Using a screwdriver, make small holes about 1 inch apart along both edges.
Cut floral wire into 12-inch strips and thread them through the holes—these will anchor your garland.
Attach the Garland
Starting at the top, twist garland onto the wire in a zigzag pattern down the tree.
Layer and fluff as you go to make it look full and natural.
When one garland ends, tie the next one to it and continue.
Light It Up
Wrap battery-operated string lights around your tree. Tuck wires discreetly behind the garland.
For extra sparkle, add a touch of artificial snow spray.
Hang & Decorate
Secure your tree to the wall with an OOK hook or command strips.
Add ornaments, ribbons, or small crystals for a personal touch.
Style Tips
Add a mini tree skirt or a few wrapped boxes at the base to complete the look.
Try white garland and silver ornaments for a modern winter wonderland theme.
For cozy charm, add pinecones and burlap ribbon.
Time & Cost
Time: 2–3 hours
Cost: $25–$40
2. Mini Crystal Christmas Trees (Elegant & Modern)

Mini Christmas trees are an easy way to sprinkle magic throughout your home. Whether styled on your mantel, dining table, or entryway console, these LED Crystal Trees add a chic, glowing accent that feels luxurious yet easy to make.
Materials
Styrofoam cone (or create one from cardstock/poster board)
Hot glue gun + glue sticks
Bag of crystal beads or acrylic gems (large pack recommended)
Fairy lights (battery-operated)
Parchment paper (to protect your work surface)
Optional: White or gold spray paint for the cone base
Steps
Create Your Cone
If you’re making your own cone, draw an arc on cardstock and roll it into a cone shape. Tape or staple closed.
Place on parchment paper to prevent sticking.
Wrap the Lights
Wind your fairy lights evenly around the cone, taping the wire lightly in place as you go.
Attach Crystals
Start from the base and glue one row of crystals all the way around.
Work upward in layers, overlapping slightly to create depth.
Cover the entire cone until no gaps are visible.
Finishing Touches
If you notice glue strings, use a heat gun to melt them off for a professional finish.
Once dry, switch on the fairy lights and watch your crystal tree glow beautifully.
Variations
All-white winter look: Use clear gems and cool white lights.
Glam version: Mix in gold or silver crystals.
Natural luxe: Use wooden beads or pearl embellishments instead of crystals.
Style Ideas
Display 3–5 trees in varying heights for a high-end look.
Place them on a mirrored tray for light reflection.
Pair with candles for a cozy glow.
Time & Cost
Time: 1–2 hours
Cost: $20–$35 (you can make multiple from one bag of crystals)
3. Christmas Wreath (Customizable to Your Style)
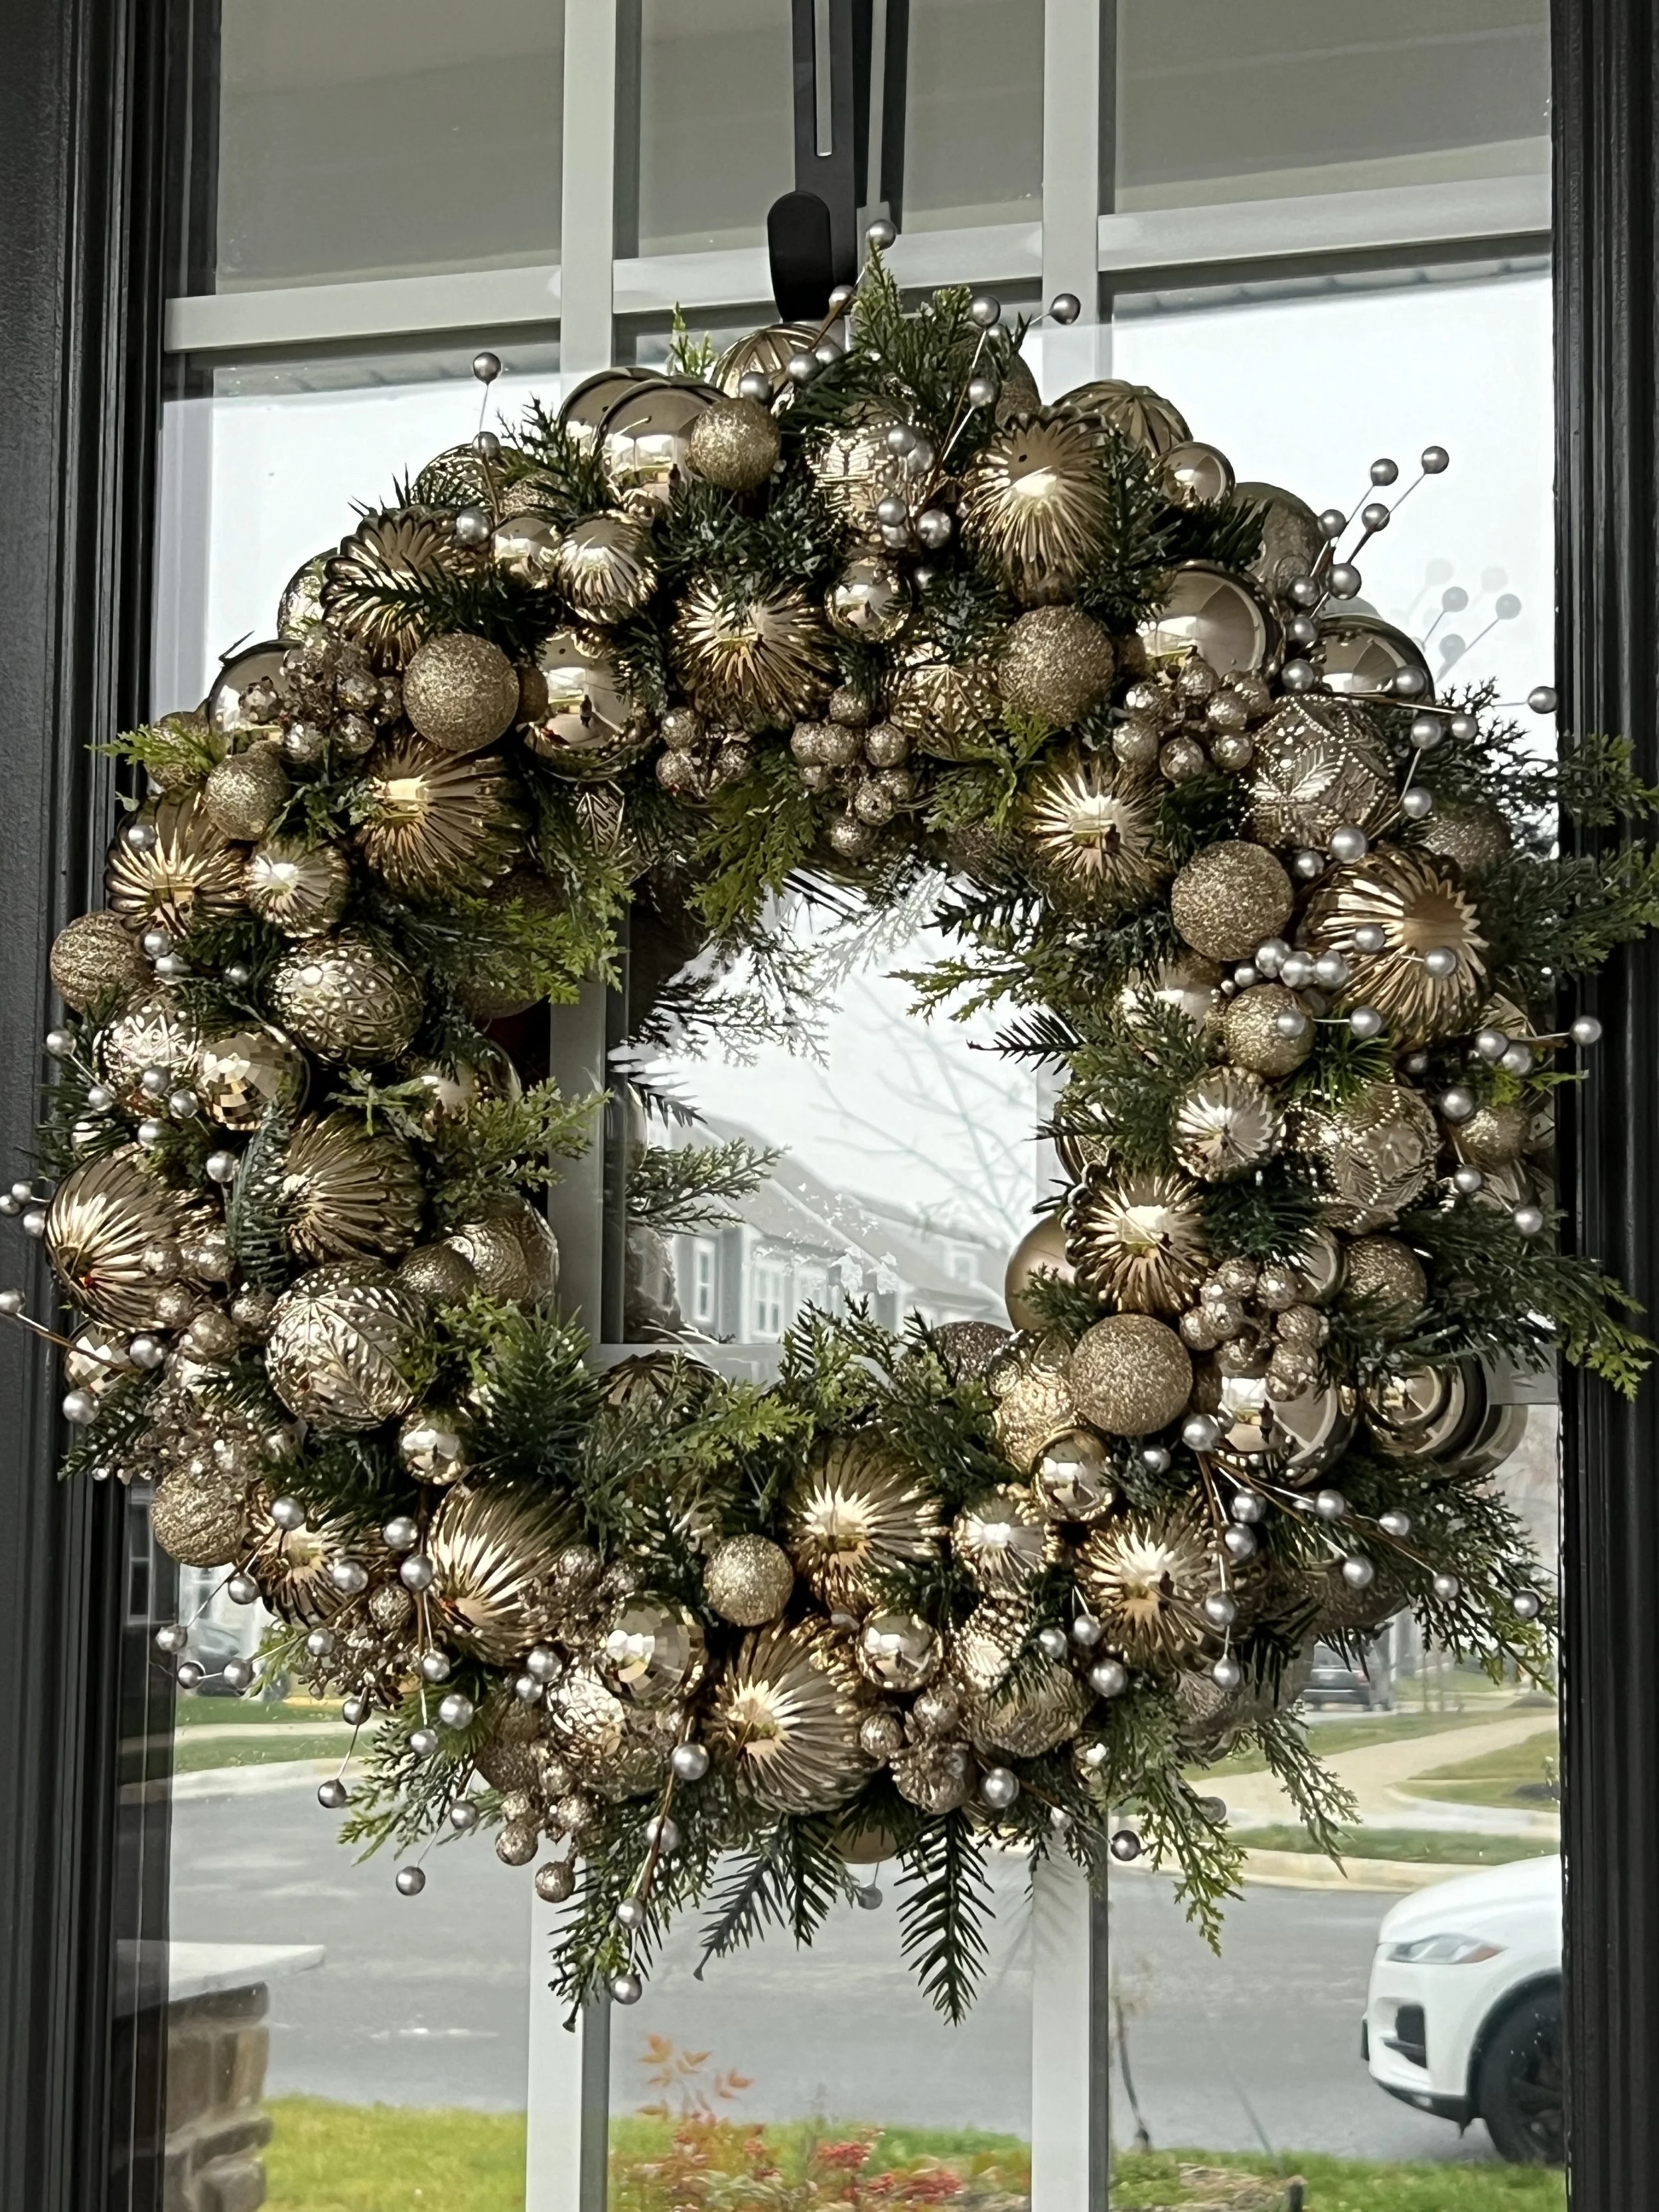
A wreath is often the first impression guests see when visiting your home during the holidays. Instead of buying one, create your own—it’s easier than you think and completely customizable.
Materials
12–18” wire wreath frame
Floral wire
Greenery garland (pine, cedar, eucalyptus, or faux)
Hot glue gun
Decor accents – pinecones, berries, ribbons, ornaments, bells
Wire cutters & scissors
Steps
Prepare Your Greenery
Cut garland or faux branches into 6–8” sections.
Fluff and layer to make it look lush and natural.
Attach Greenery to Frame
Starting at the top, secure branches with floral wire, overlapping each piece for fullness.
Continue around the entire circle until the frame is covered.
Add Decorative Touches
Hot glue pinecones, berries, or ornaments around the wreath.
For a modern look, only decorate half the wreath, leaving the other half as exposed greenery.
Add a Ribbon or Bow
Use a wide velvet ribbon for a high-end finish. Tie at the top or side depending on your preference.
Hang & Style
Use a command hook on your door or place above your mantel.
Variations
Minimalist: Use eucalyptus, a thin ribbon, and one ornament.
Traditional: Red berries, plaid bow, and classic pinecones.
Glam: Add metallic leaves, crystal stems, and gold ribbon.
Time & Cost
Time: 1 hour
Cost: $15–$30
4. Handmade Ornaments (Personal & Fun)

Making your own ornaments is not only creative—it’s sentimental. These can reflect your style, match your color theme, or even become keepsakes for years to come.
Materials
Clear plastic or glass ornaments (available in packs)
Acrylic paint
Mini embellishments (glitter, snowflakes, faux greenery)
Ribbon or twine for hanging
Hot glue gun
Optional: Vinyl decals or paint pens for personalization
Idea 1: Paint-Pour Ornaments
Remove the ornament cap.
Squeeze 2–3 colors of acrylic paint inside.
Swirl gently to coat the interior walls.
Let drain upside down on a cup overnight.
Replace cap and tie a ribbon.
Try white, gold, and blush tones for a soft modern palette.
Idea 2: Snow Globe Ornaments
Add faux snow inside a clear ornament.
Insert mini trees, snowmen, or reindeer.
Seal with the top and glue for safety.
Idea 3: Personalized Vinyl Ornaments
Cut names or words (“Joy,” “Peace,” “Love”) from adhesive vinyl.
Apply to the outside of the ornament using transfer tape.
Fill with glitter or small beads for sparkle.
Packaging Idea
If you’re gifting them, nest each ornament in shredded paper inside a small box, tie with a velvet bow, and label it with “Made with Love.”
Time & Cost
Time: 30 minutes per ornament
Cost: ~$2–$4 each
Putting It All Together: A Handmade Holiday Home
When you step back and look at everything you’ve created—the glistening wall tree, glowing crystal accents, your custom wreath, and ornaments that reflect your spirit—you’ll feel something store-bought décor can’t replicate: connection.
These pieces don’t just decorate your home—they tell your story. You’ll remember every creative decision, every brushstroke, every moment spent crafting joy into something tangible.
Here’s how to display them beautifully:
Pair the Wall Christmas Tree with a console table of wrapped gifts beneath it.
Cluster your Mini Trees with candles for a centerpiece.
Hang your Wreath at eye level on your front door for instant holiday cheer.
Use your Handmade Ornaments to theme your entire tree—or gift them to loved ones as meaningful keepsakes.
Tools Checklist (For All 4 Projects)

Scissors
Utility knife
Hot glue gun
Floral wire + wire cutters
Tape measure or ruler
Craft mat (for protection)
Parchment paper (for messy projects)
Bonus Tips for Success
Work in stages: Set aside a crafting day for each project to avoid overwhelm.
Use a consistent color palette across all your décor (e.g., gold, white, sage green) to create flow.
Add subtle scent: Light a cinnamon candle while you craft—it’ll make the experience even cozier.
Turn this into a holiday craft night with family or friends for fun memories!
Final Thoughts: Handmade Holidays That Feel Like You
Creating your own Christmas décor is more than just saving money—it’s about expressing who you are, surrounding yourself with beauty you’ve made, and spreading joy that lasts beyond the season.
These four DIY Christmas décor ideas—a Wall Christmas Tree, Mini Crystal Trees, Custom Wreath, and Handmade Ornaments—will help you transform your home into a place that feels warm, personal, and radiant with holiday spirit.
So put on your favorite playlist, make a cup of cocoa, and start crafting. This Christmas, your home won’t just look magical—it’ll feel it, because every piece was made with love.
Shop My Finds